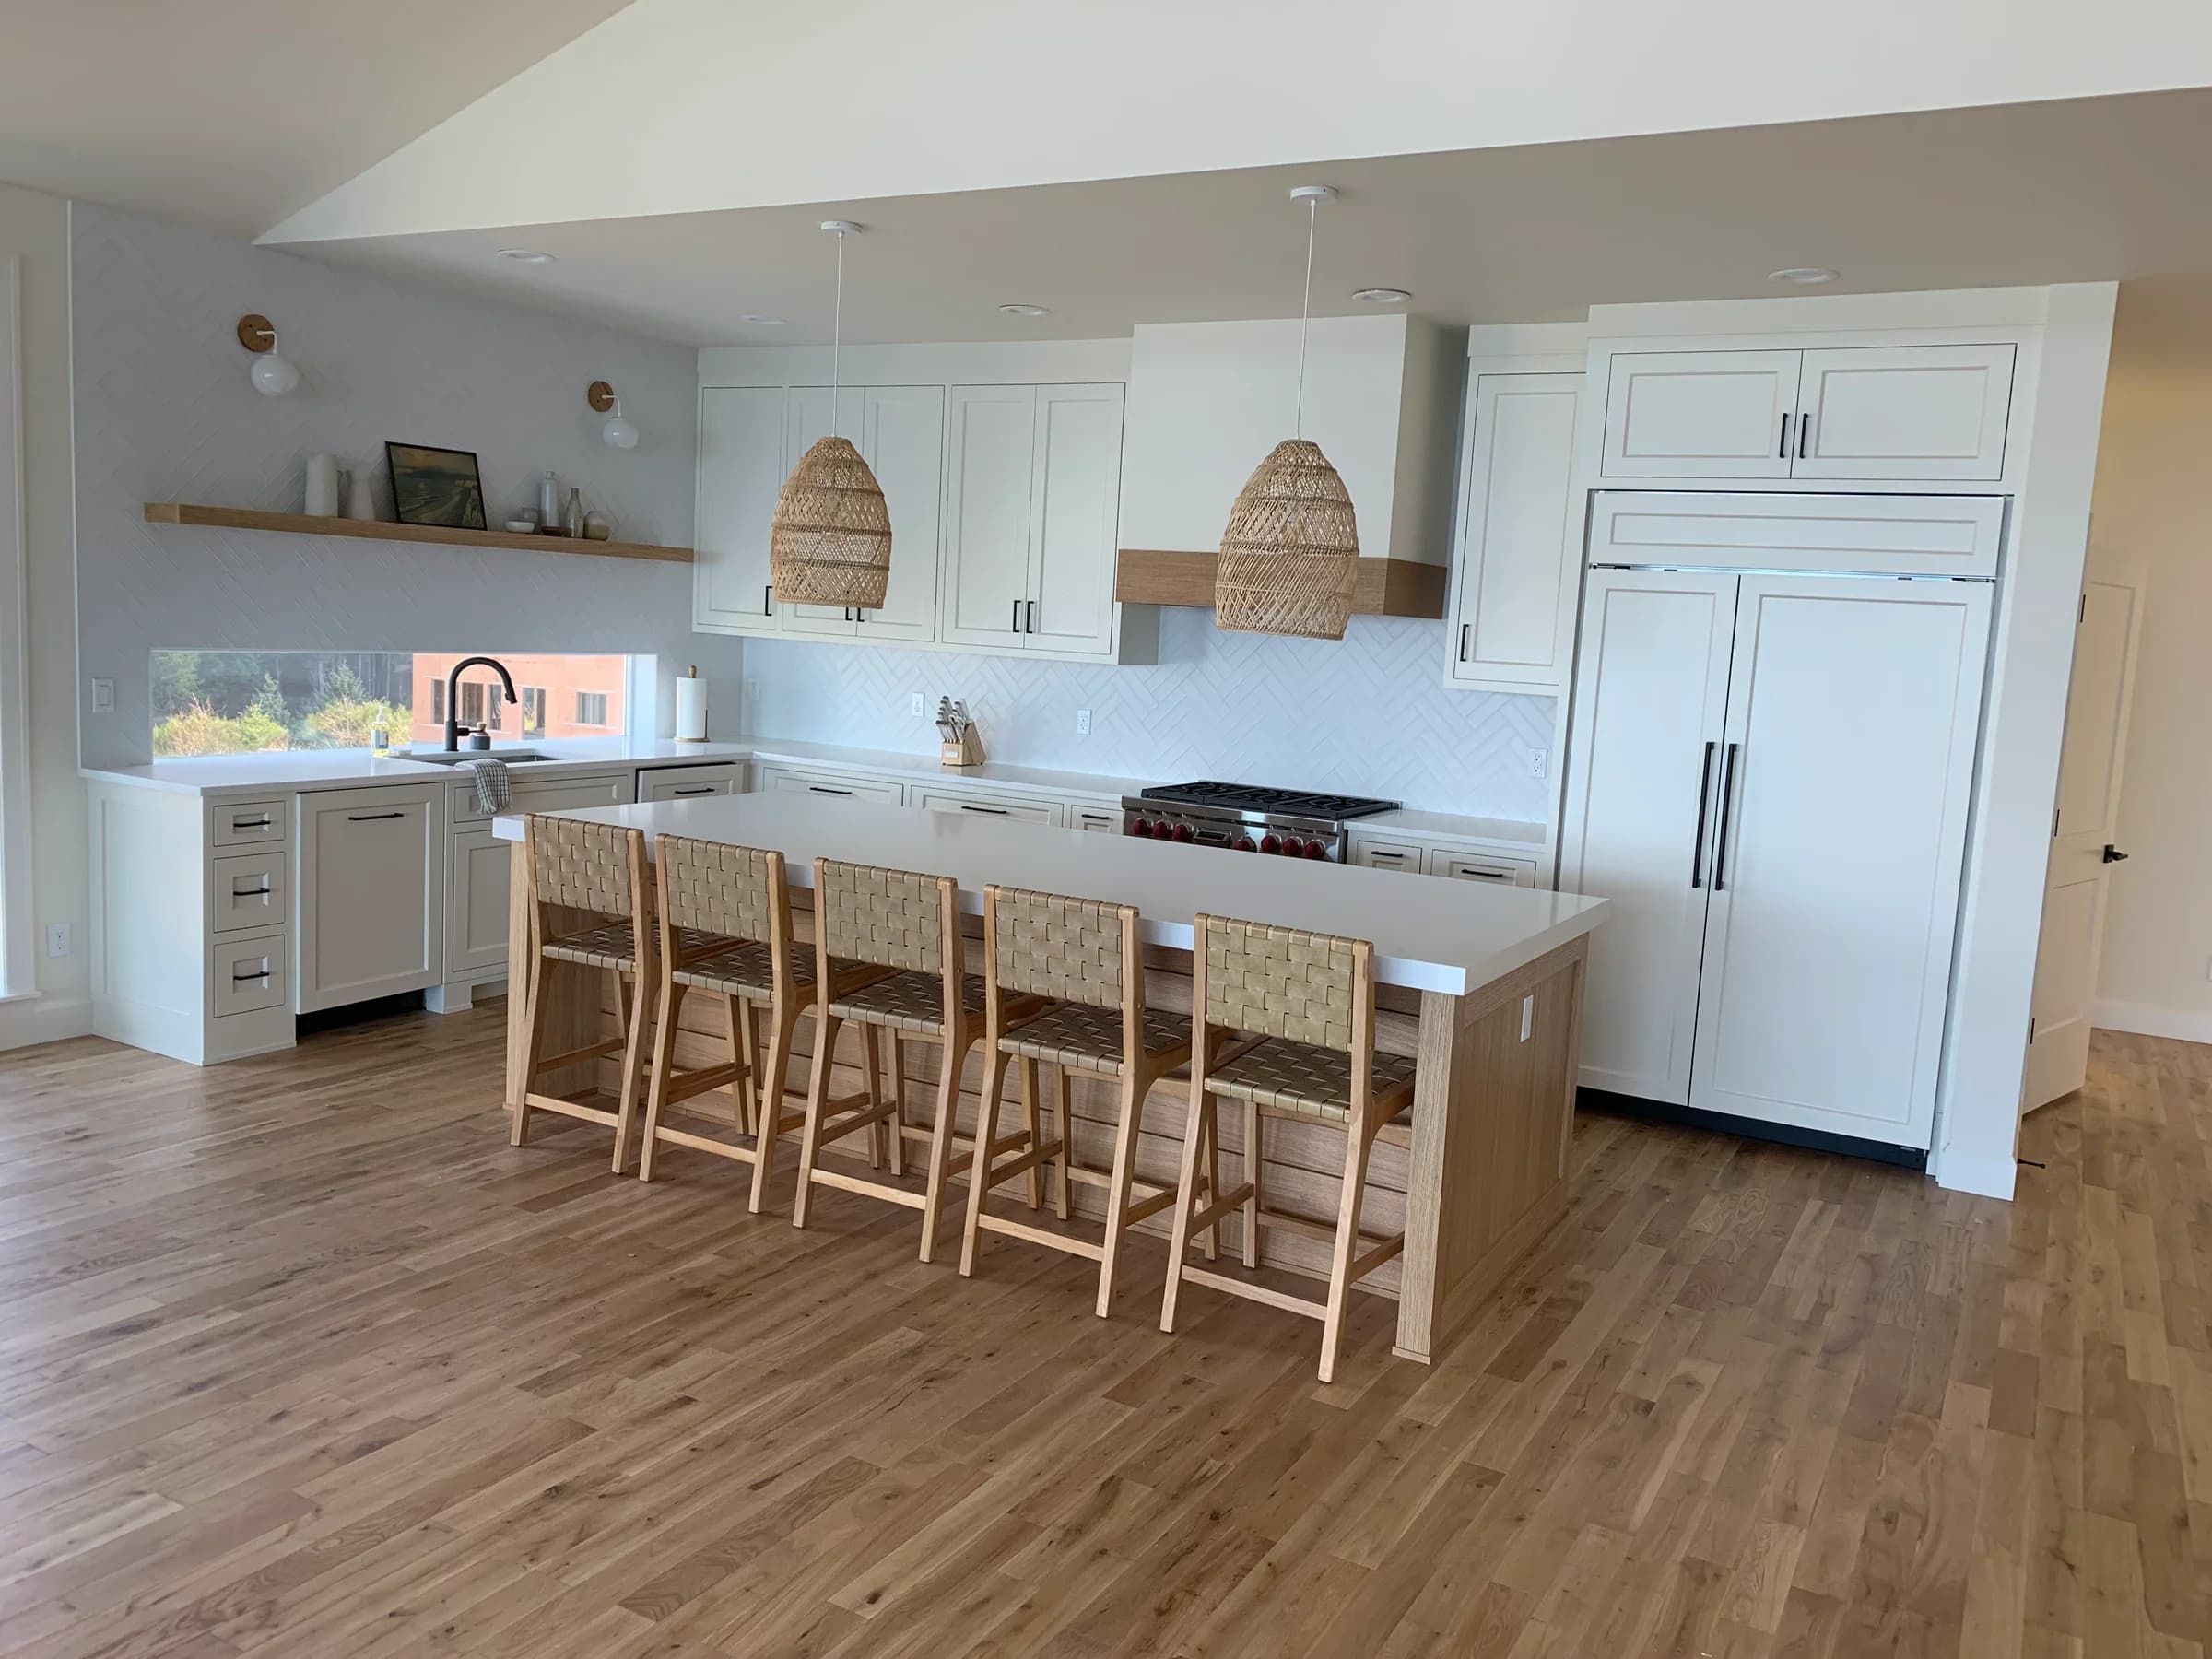
Keep what works. Be specific about what should change.
A successful cabinet painting project starts with what you like about the kitchen. Do the drawers hold what you need? Are the cabinets sound? Can two people move comfortably around the island? If the answers are yes, changing the finish can address the visual problem while keeping the arrangement you already use.
Painting cannot create a deeper drawer, straighten a damaged box or move an appliance. If those are your priorities, make them part of the first conversation. You may need repairs or a broader remodel before finishing makes sense. The goal is to put the work where it improves your everyday experience, rather than spend on a new color while leaving the main frustration in place.
Define the whole kitchen, not just the doors.
Doors and drawer fronts are the easiest pieces to count, but they are only part of the visible cabinetry. Exposed side panels, face frames, the refrigerator surround, crown, toe kicks and the back of an island all affect the finished room. Glass-front cabinets may also reveal interiors that a solid door normally hides.
Before comparing proposals, make sure they cover the same surfaces. Decide whether interiors remain as they are, whether an adjacent desk belongs in the project and whether pantry doors are cabinetry or room doors. Photograph every run, including the sides you see from the dining room. A clear inventory helps avoid the moment when newly painted fronts make an overlooked panel suddenly obvious.
| Part of the kitchen | Decision to make |
|---|---|
| Doors and drawer fronts | All fronts, both faces, edges and hardware handling |
| Boxes and visible panels | Face frames, exposed ends, island back and trim |
| Interiors and glass doors | Which inside surfaces are included |
| Adjacent cabinetry | Desk, pantry, bar or built-in included or separate |
Two work areas. One coordinated finish.
The removable doors and drawer fronts go to the shop for spraying. The installed boxes remain in your home and are sprayed within a fully masked and contained work area. This division lets the cabinet fronts be handled separately while keeping the existing kitchen structure in place.
The preparation plan depends on what is there now. Grease around handles, a glossy clear coat, previous paint and damaged edges raise different questions. Cleaning, surface preparation and the compatible coating system belong in the project discussion. Spray application determines how a finish is applied; it does not replace the work needed underneath it. Ask how each existing surface will be assessed and what preparation your proposal includes.
Choose the texture before the color.
If your cabinets are oak, decide how much grain you want to see through the paint. A new solid color can still show the wood's open texture. Grain filling is an additional finishing choice for a smoother appearance; it should be discussed and priced as its own scope, with a realistic agreement about the texture that may remain.
For any wood, look closely at the door profile as well as the color. Paint changes the surface appearance but keeps the existing shape. Raised panels, arches and decorative edges continue to define the room. If your inspiration shows a different door style, say so early. Cabinet upgrades may be part of the conversation, but the suitability of each change needs a closer look.
An island, new hardware, or a complete color change.
A kitchen does not always need every cabinet painted to feel different. An island color change can create a focal point, particularly when the perimeter finish is in good condition. A two-color kitchen needs a deliberate boundary: identify the island, tall units or other run receiving the second color before the proposal is finalized.
Hardware is another decision to make before finishing. Reusing the current pulls, switching to a different hole spacing, or moving from knobs to pulls involves different preparation. NS also offers cabinet upgrades such as crown, glass inserts and Shaker trim, subject to the existing construction. Bring the actual hardware dimensions or a product reference. A photograph alone rarely tells the full story of how a new piece will fit.
Choose a color in the room you actually have.
Start with the finishes that are staying: the countertop, backsplash, floor and any wood you can see from the kitchen. A white that looks balanced on a screen may read warmer beside a cool counter or brighter against dark flooring. Examine your options in daylight and under the lighting you normally use at night.
Sheen and texture matter alongside color. A subtle finish and a glossier one reflect the same light differently, while oak grain can remain visible from an angle even when the front view looks smooth. Inspiration images and digital previews are useful for narrowing the direction. Confirm the actual color, sheen and grain expectation using a physical reference before work begins.
Plan for the working week and the weeks after.
A typical kitchen takes about a week. Your actual schedule depends on size, condition, repairs and the agreed finish. The work period and the finish's full cure period are different, so do not assume that reinstalled doors are ready for every cleaner or every kind of use immediately.
Ask which days require restricted access, what to clear from counters and cabinets, and how appliances will be handled during masking. If you work from home, have pets or need a daily route through the kitchen, include that in the plan. At completion, confirm when normal cleaning can resume and how to handle the finish during its early use. Those details make the update easier to live through.
Start with a few useful photos.
Send a wide view from the doorway, a straight-on view of each cabinet wall, a close-up of one door and any damaged area. Include your city or ZIP, the change you want and any date you are working toward. If you know the door and drawer-front count, add it; if you do not, the photographs are still a useful start.
A quote request begins the conversation. An inspection can resolve condition, exact surfaces and access before the work is agreed. Call NS Wood Finishing at 360-903-6298 or start your quote request with the cabinets as they are today. You do not need the final color selected to find out what the project involves.
LET’S LOOK AT YOUR PROJECT
Bring the question back
to your own cabinets.
A wide view, a close-up, and any areas of concern are enough to start a useful conversation.
Get my quoteYour questions, answered.
01Can I keep my countertops and backsplash?+
Cabinet painting can be planned around counters and backsplash that remain in place. Their condition, edges and the masking required should be checked during the assessment. Tell us if another contractor will be changing either surface.
02Are the cabinet interiors painted too?+
Interiors are a scope decision. Include them explicitly if you want them finished, especially behind glass doors or on open shelving. Do not assume that an exterior cabinet quote includes every inside surface.
03Can you paint only the kitchen island?+
Yes, an island color change can be considered as its own project. Send views of every exposed side, the doors and drawer fronts, and the adjoining perimeter cabinets so the scope and visual relationship are clear.
04Do I need to know the wood species?+
No. Send a close-up of a door face and edge, plus the back if accessible. Material identification and the condition of the existing finish are part of deciding how to approach the work.
Sources & further reading
Research reviewed October 2026. Population and housing data describe the source sample, not an individual home or its cabinetry. Manufacturer references are educational and do not identify the system used by NS.